In addition to publishing custom applications, you can also use the Application Gallery (sometimes referred to as the app gallery), a large database containing configuration templates for thousands of SaaS applications. Configuring an application requires a couple of prerequisites:
• An Azure AD account that is a member of one of the following roles: Global Administrator, Cloud Application Administrator, or Application Administrator
• A third-party application that is already present in the Azure app gallery (https://learn.microsoft.com/en-us/azure/active-directory/saas-apps) or a custom-built application that supports SAML or OpenID Connect authentication
In the following example, we’ll configure the Salesforce app to integrate with Azure AD. While each application may have its own unique configuration properties, the general process for publishing an application and making it available to users is the same.
Adding the application from the gallery
As previously mentioned, each application may have unique settings or input screens for which you need specific data. Some applications, such as the Salesforce app, have additional browser helper extensions that will allow you to import current session information to help speed up the configuration. Review both the individual application’s setup steps as well as the corresponding documentation in the app gallery for the most complete information.
To configure an enterprise application, follow these steps:
- Using an identity with appropriate permissions, log in to the Azure portal (https://portal.azure.com) and enter Enterprise Applications in the search bar.
- On the navigation menu, select All applications under Manage and then click New application.
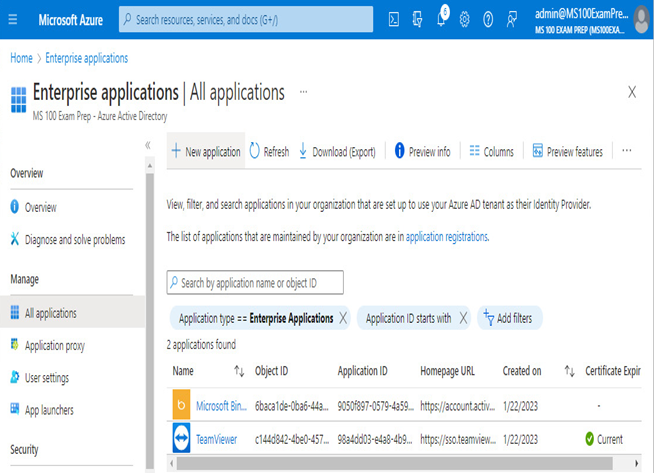
Figure 9.23 – Configuring a new enterprise application
- In the search box, enter the name of the application you wish to configure and press Enter.
- Select the application from the list.
- Click Create.
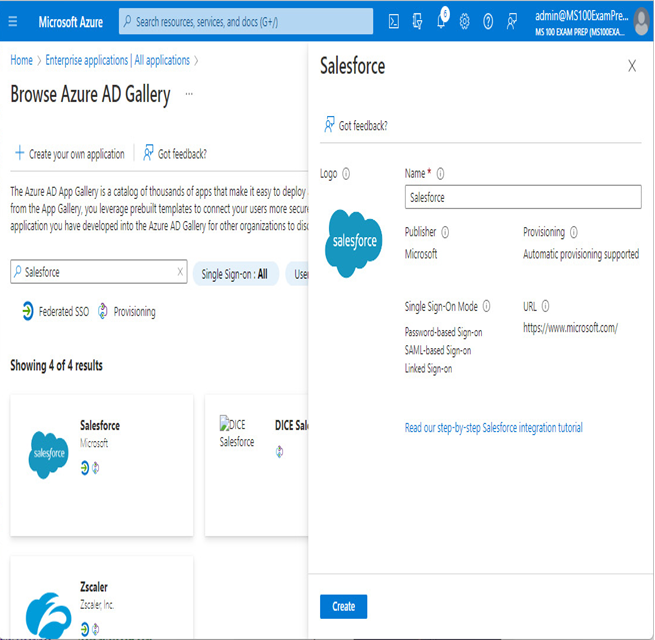
Figure 9.24 – Creating the new enterprise application
- Under Getting Started, select Assign users and groups.
- Click Add user/group and then locate the group you created in the Configuring a group section. When the group is located, click Select to add it.
- Some applications may prompt you to select a role. To do that, under Select a role, click None Selected and then select a role in the application that the users will have. When you’ve finished, click Assign. All users who are members of this group will be assigned the corresponding role in the application.
- Click the Overview item from the navigation menu to go back to the enterprise application overview. Under Set up single sign-on, select Get started to configure the single sign-on parameters for the application.
- Choose the type of single sign-on method that you will configure for your application. An application may support one or more sign-on methods. If you are following along using the Salesforce app, choose SAML.
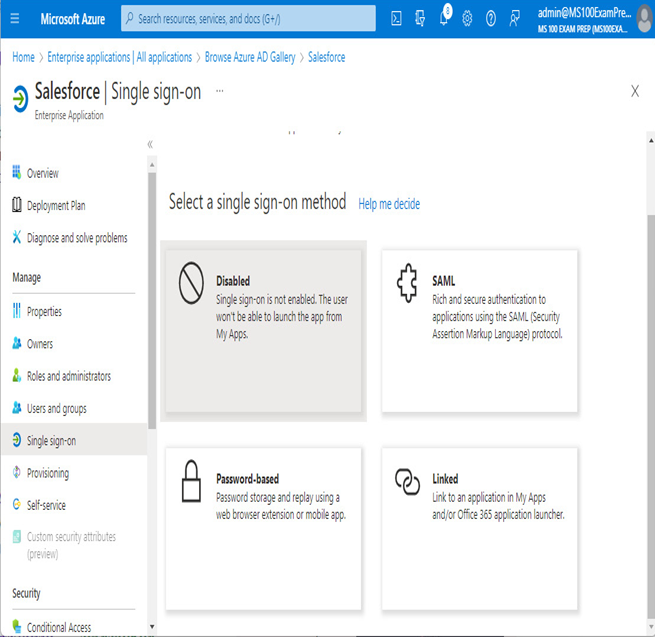
Figure 9.25 – Choosing a sign-on method
- In the Basic SAML Configuration section, click the Edit button to fill in the necessary fields.
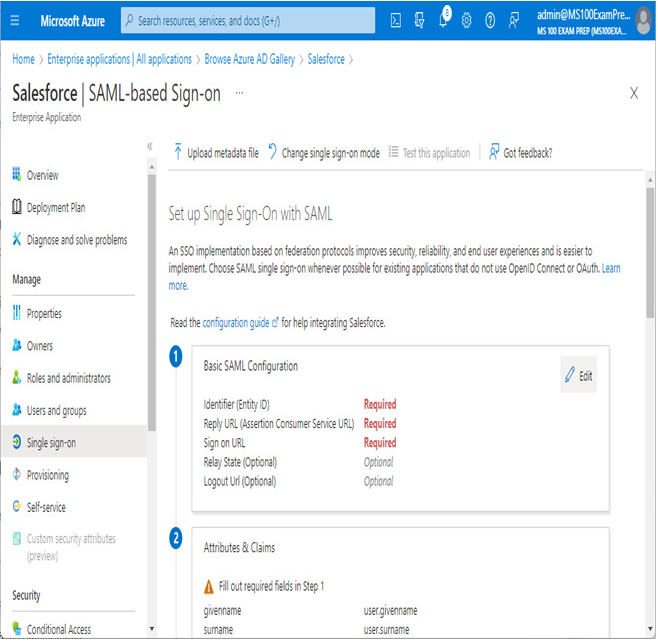
Figure 9.26 – Setting up SAML configuration
- Fill in the fields per the application vendor’s requirements. For this example, we’re using the Salesforce app and the corresponding documentation from the Azure app gallery setup.
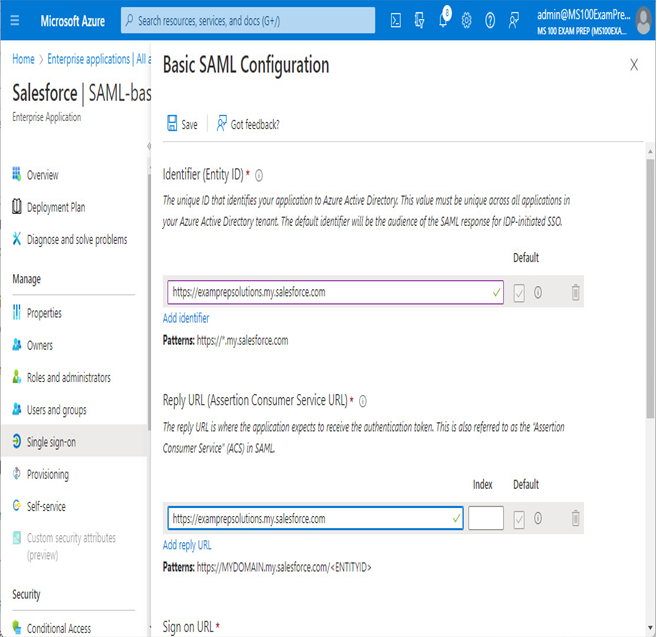
Figure 9.27 – Configuring the SAML properties
- Click Save when finished.
- On the Single sign-on page, scroll down to the SAML Certificates section and click Download next to Federation Metadata XML.
- Click the Install the extension button to install and configure the My Apps Secure Sign-in browser extension if offered. This will help speed up the application configuration process. After it has been installed, refresh the Single sign-on page.
- Click Set up . In this case, select Set up Salesforce. The browser helper extension will automatically redirect you to the application setup page.
- Click Yes to proceed with the automatic configuration.

Figure 9.28 – Allowing the Azure AD SAML browser extension to run
- Select Yes when prompted to upload the SAML signing certificate. Browse to the downloaded file, select it, and click Open.
- Click Yes to save the configuration.
The application has been configured and published for those users who are members of the corresponding user group.