Application registration is performed in the Azure portal. To configure a new application registration, follow these steps:
- Log in to the Azure portal (https://portal.azure.com) and navigate to Azure Active Directory.
- Under the Manage section, select App registrations and then select New registration.

Figure 9.1 – App registrations page
- On the Register an application page, enter a name. This name will be displayed on the sign-in page as well as in other places, such as My Apps.
- Under Supported account types, select the scope of users that will be able to access this application.
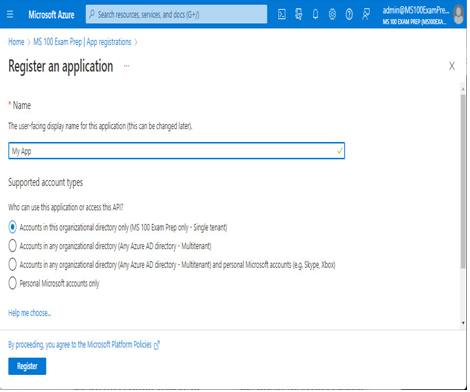
Figure 9.2 – Configuring a new app registration
- Click Register.
- On the app’s Overview page, take note of the available options. Select Add a Redirect URI, and then select Add a platform.
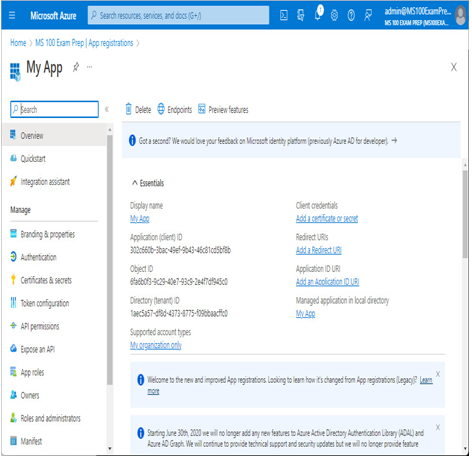
Figure 9.3 – New app overview page
- On the Configure platforms flyout, select which type of platform you wish to configure for your application. You can configure multiple platforms.
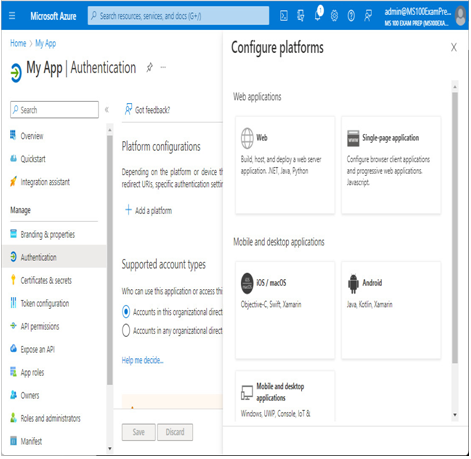
Figure 9.4 – Configure platforms flyout
- Enter values for the Redirect URIs and Front-channel logout URL inputs (if Web was selected). If you selected another platform type, configure the appropriate values.
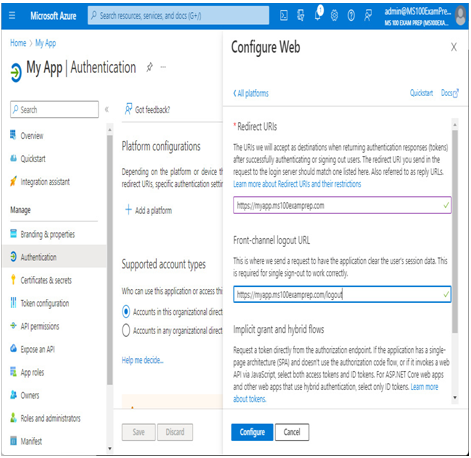
Figure 9.5 – Configure a platform flyout
- Select the tokens you wish to issue during the authorization request.
- When finished, click Configure.
When developing the application and configuring its parameters, you will connect it to Azure AD using the information contained in the application registration.